Emergency HVAC Repair Tyler TX | Fast 24/7 Service
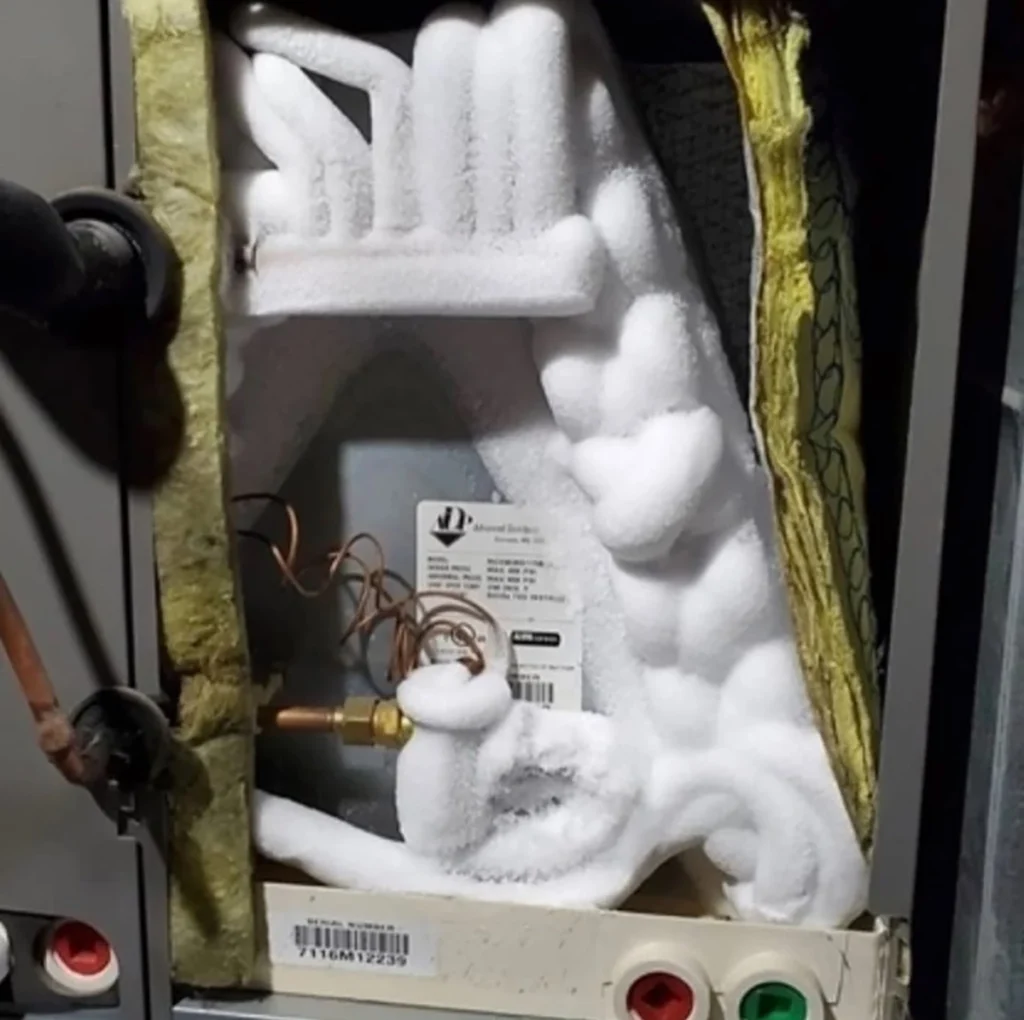
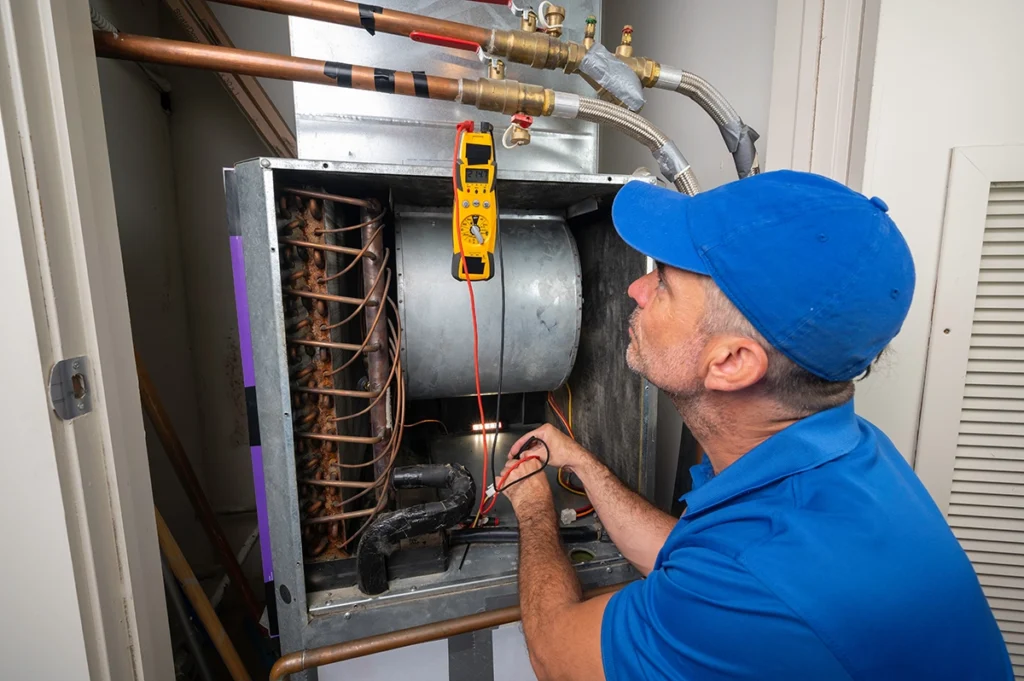
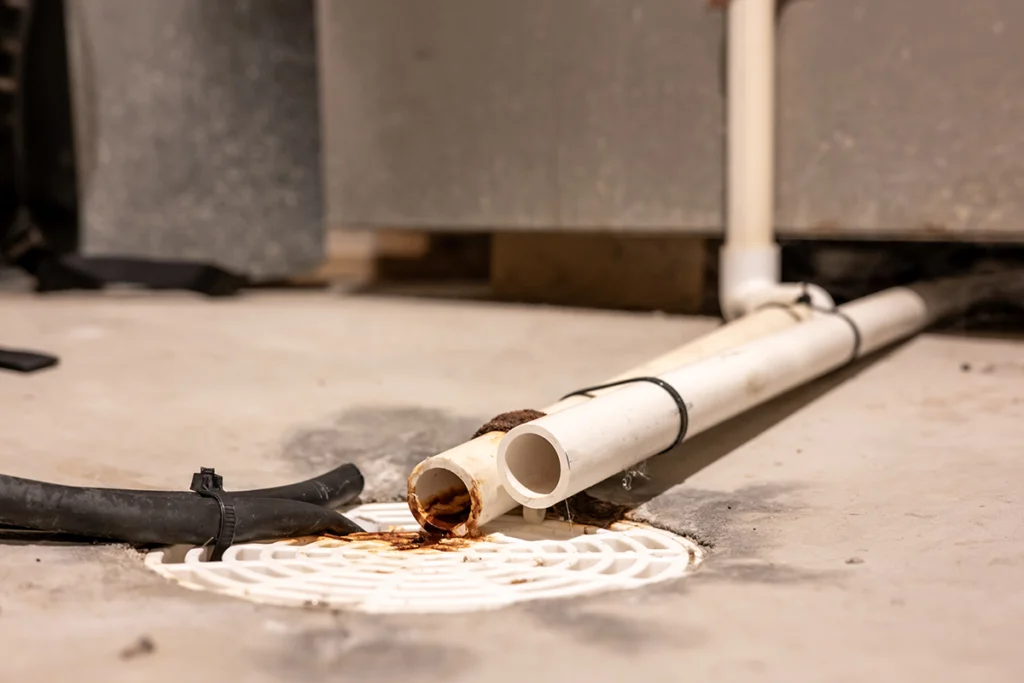
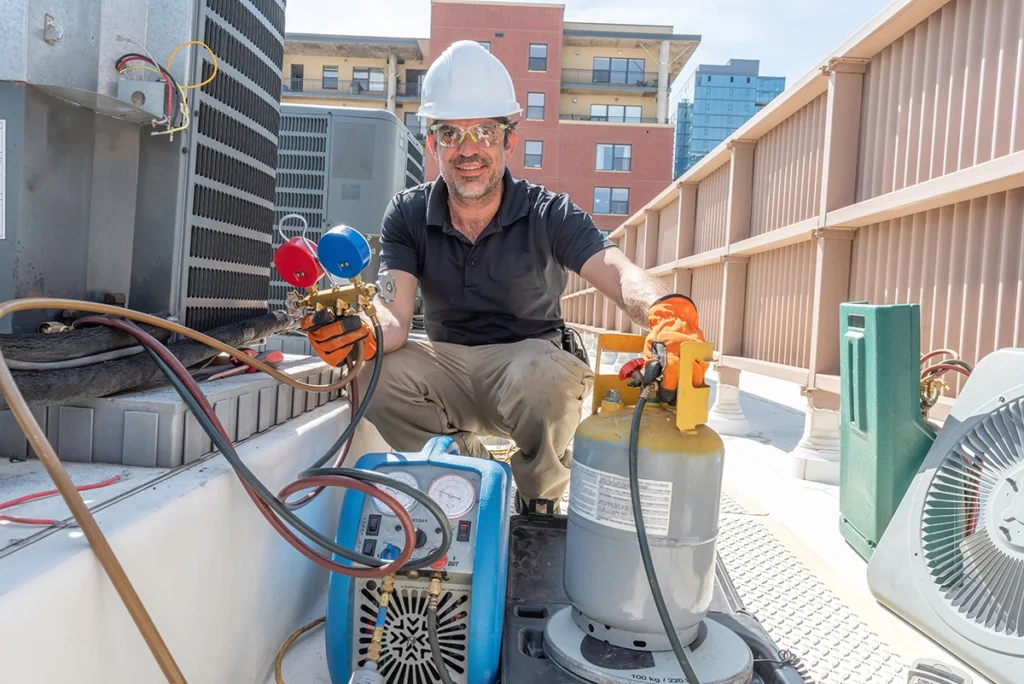
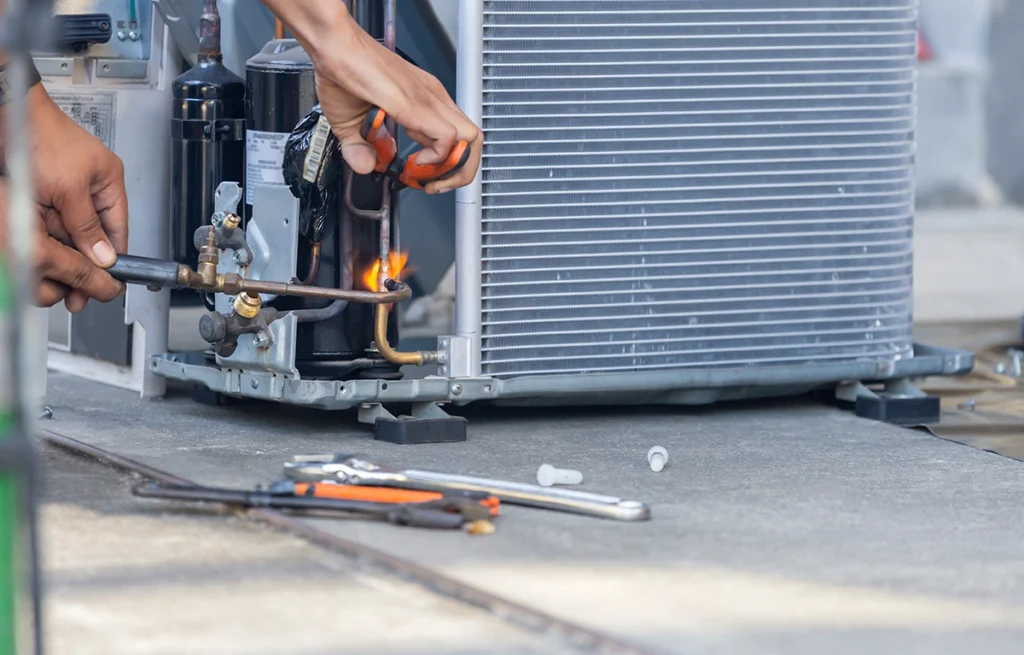
When your heating or cooling system breaks down in the middle of a sweltering Tyler summer or during an unexpected cold snap, you need emergency HVAC repair Tyler TX — and you need it fast. We know how stressful it can be when your home suddenly feels unbearable, especially when your family’s comfort and safety are on the line. That’s why our team is ready to respond quickly when those urgent situations arise. Over the years, we’ve seen just about every kind of HVAC emergency, from complete system failures to refrigerant leaks and electrical issues. In this post, we’ll help you recognize the warning signs of a true HVAC emergency, explain what causes these urgent breakdowns, and show you exactly when it’s time to call for professional help. When Your HVAC System Fails in Tyler, TX East Texas heat doesn’t offer second chances. When your air conditioning system stops working on a sweltering July afternoon—or your furnace quits during one of our rare but biting winter cold snaps—you’re facing more than inconvenience. You’re dealing with a genuine safety concern for your family, potential damage to your home, and the urgent need for professional help. We understand that sudden HVAC failures in Tyler create immediate stress. Indoor temperatures can climb dangerously high within hours during summer. Vulnerable family members face real risk of heat-related illness. Your pets suffer, too. Electronics overheat. The urgency is real, and waiting until Monday morning isn’t always an option. That’s exactly why emergency HVAC repair Tyler TX services exist—and when your system fails at 9 PM on a Saturday in 95-degree heat, that after-hours call becomes necessary. At C&R HVAC, we’ve responded to countless emergency calls throughout Tyler. We know firsthand how quickly comfort turns to crisis. In fact, recognizing the warning signs before total failure—and knowing when to call for immediate professional help—can make all the difference in protecting your home and family. Signs You Need Emergency HVAC Repair in Tyler, TX Knowing when to call for emergency HVAC repair Tyler TX can save you from costly damage and dangerous situations. We’ve seen firsthand how quickly minor issues can escalate in Tyler’s extreme heat and humidity. If your system stops cooling completely during a summer heat wave, you’re facing more than discomfort. You’re looking at potential health risks, especially for children, older family members, or anyone with medical conditions. Unusual burning smells, sparking sounds, or smoke coming from your unit demand immediate attention. These signals point to electrical hazards or failing components that could pose fire risks. Water pooling around your indoor unit, frozen evaporator coils in summer, or refrigerant leaks also qualify as emergencies. Refrigerant exposure can be harmful, and water damage spreads rapidly through ceilings and walls. If you hear loud banging, grinding, or screeching noises that suddenly appear, a critical component may have failed. It could cause cascading damage if your system continues running. Our emergency response team is equipped to diagnose and repair these urgent issues quickly. We aim to arrive within hours of your call. Don’t wait when you notice these warning signs. Instead, contact C&R HVAC immediately to protect your home and family. Common Emergency HVAC Issues We See in Tyler In our years serving Tyler homeowners, we’ve responded to countless urgent calls. Certain problems come up again and again. Complete system failures during Tyler’s brutal summer heat top the list. These are often caused by compressor breakdowns, refrigerant leaks, or electrical component failures that leave families without cooling when they need it most. We also frequently handle blower motor failures that stop air circulation entirely. Frozen evaporator coils block airflow and cause water damage. Thermostat malfunctions prevent your system from responding at all. Refrigerant leaks deserve special attention because they not only kill your cooling capacity but can damage the compressor if left unaddressed. When you notice ice forming on refrigerant lines, hear hissing sounds, or find your AC running constantly without cooling, a certified technician needs to locate the leak. The repair must be done properly using specialized equipment. This work requires EPA certification and must be performed by a licensed professional. Electrical issues also create genuine emergencies. These range from failed components to tripped breakers that won’t reset. They’re especially concerning when they pose fire risks or leave you without climate control. The common thread in these emergency HVAC situations? They rarely fix themselves and typically worsen rapidly. If you’re experiencing any of these problems, contact C&R HVAC immediately so we can diagnose the issue and restore your comfort safely. Our emergency HVAC repair Tyler TX team handles these urgent situations day and night. What to Expect During Emergency HVAC Repair When you call us for emergency HVAC repair Tyler TX, we prioritize your comfort and safety from the moment you reach out. Our certified technicians arrive equipped with diagnostic tools and common replacement parts. This means we can resolve most urgent issues on the first visit. We begin every emergency call with a thorough system assessment. We check refrigerant levels, electrical connections, thermostat accuracy, and airflow throughout your home. This approach helps us identify not just the immediate failure, but any underlying conditions that contributed to the breakdown. During the repair process, we’ll walk you through our findings in plain language. We explain what caused your system to fail. Whether we’re addressing a failed component, a refrigerant leak, a tripped safety switch, or a malfunctioning compressor, we explain the repair work before we begin. We also provide upfront information about what’s needed. Emergency situations often involve time-sensitive decisions, especially during extreme weather, so we help you understand your options quickly. Our goal is to restore your heating or cooling as efficiently as possible. We also ensure the repair meets manufacturer standards and local code requirements. Once the work is complete, we test the entire system to confirm proper operation before we leave your home. When to Call for Emergency HVAC Repair Tyler TX Not every HVAC problem requires a midnight service call, but some