
How Do Air Purifiers Work? A Complete Guide
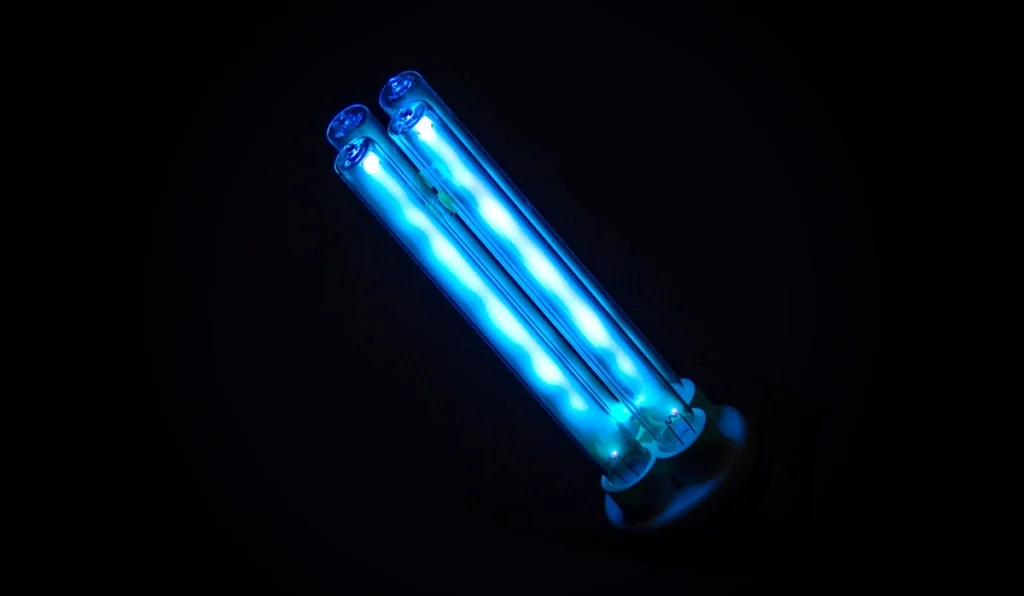
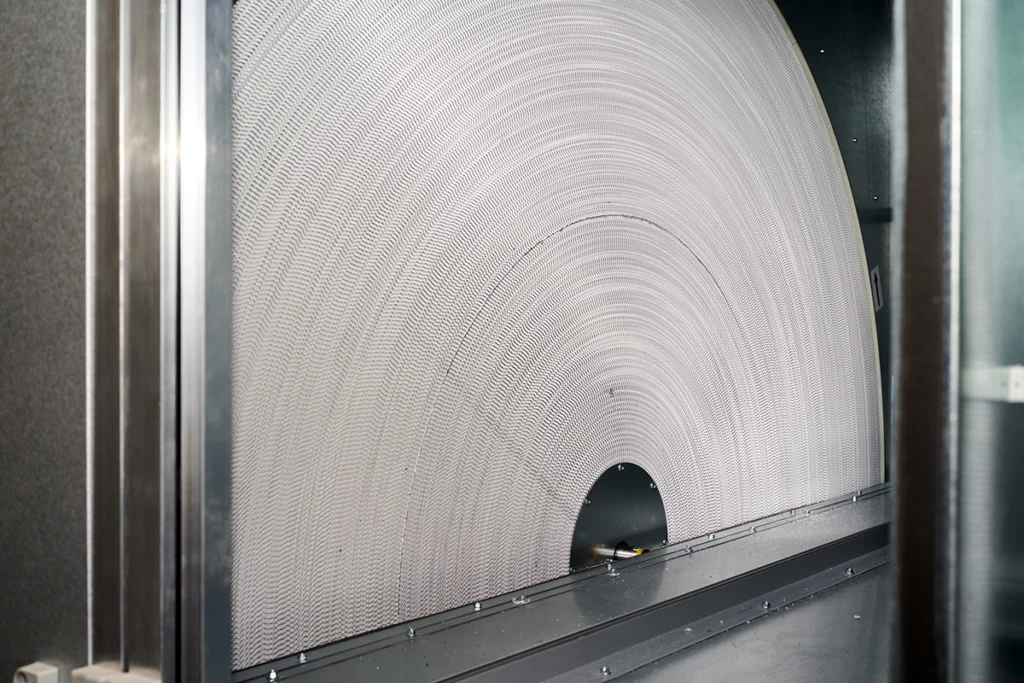
Clean indoor air is something many homeowners care about. This is especially true if someone in your household deals with allergies or asthma. We often get asked how do air purifiers work, and it’s a great question. Air purifiers have become popular additions to heating and cooling systems, and for good reason. They can trap dust, pollen, pet dander, and even tiny particles you’d never see with the naked eye. Understanding what these systems do helps you make informed decisions about indoor comfort. Plus, learning how they improve your home’s air quality guides your choices. At C&R Services, we help Tyler, TX homeowners choose and install the right air purification solutions for their specific needs. Understanding Air Purification Devices and Their Purpose An air purifier is a device designed to remove pollutants from the air inside your home. These pollutants can include dust, pollen, mold spores, pet dander, bacteria, viruses, and volatile organic compounds (VOCs). Some purifiers are standalone units that you plug into an outlet and place in a room. Others connect directly into your HVAC system and treat the air throughout your entire house. When people wonder how do air purifiers work in different settings, it’s important to know that the basic goal remains the same regardless of the type: cleaner, healthier air for you and your family. Different purifiers use different technologies. Also, some combine multiple methods for better results. The right choice depends on what you’re trying to filter out, the size of your space, and whether you want whole-home coverage or targeted purification in specific rooms. When considering how do air purifiers work for your home, it’s important to match the technology to your specific air quality concerns. The Core Mechanics Behind Air Purification Systems Most air purifiers follow a simple process. First, they draw air into the unit using a fan. Then, the air passes through one or more filters or purification stages that trap or neutralize pollutants. Finally, the cleaned air returns to the room or circulates through your ductwork. This cycle repeats continuously, so the purifier keeps working as long as it runs. Many homeowners want to know exactly how do air purifiers work through this filtration cycle, and the answer lies in understanding each stage of the purification process and how efficiently the system can handle your home’s air volume. The effectiveness of this process depends on the type of filtration technology used. It also depends on how well the purifier matches the size of your space. A purifier that’s too small for a large room won’t cycle the air often enough to make a noticeable difference. That’s why our team always helps customers choose the right size and style for their home. Understanding how do air purifiers work in relation to room size ensures you get the best performance from your investment. Common Types of Air Purification Technologies There are several ways air purifiers clean your indoor air. Each technology has strengths and weaknesses. Understanding how they work helps you recognize which option a certified technician might recommend for your household. HEPA Filters High-Efficiency Particulate Air (HEPA) filters are among the most effective options available. According to the Environmental Protection Agency, a true HEPA filter can capture 99.97% of particles as small as 0.3 microns. This includes most allergens, dust, and even some bacteria. The filter contains densely packed fibers arranged in a mat. As air passes through, particles get trapped in three ways: they collide with fibers and stick, they follow the air stream too closely and get caught, or they move randomly and eventually hit a fiber. HEPA filters don’t use electricity or produce ozone. This makes them a safe choice for homes with children or pets. However, the filter itself needs regular replacement to maintain efficiency. A clogged HEPA filter restricts airflow and reduces performance. Because of this, our technicians will set up a maintenance schedule to ensure optimal performance. Activated Carbon Filters Activated carbon filters excel at removing odors, gases, and VOCs that HEPA filters can’t capture. The carbon receives treatment to create millions of tiny pores. This dramatically increases its surface area. When air passes through, gas molecules and odors stick to the carbon surface through a process called adsorption. These filters work especially well for cooking smells, smoke, and chemical fumes. However, they don’t trap particles like dust or pollen. For this reason, many air purifiers combine activated carbon with HEPA filtration for complete coverage. Learning how do air purifiers work with different filter combinations helps you target specific pollutants in your home environment. UV-C Light Purifiers Ultraviolet germicidal irradiation uses UV-C light to kill or inactivate microorganisms like bacteria, viruses, and mold spores. When these organisms pass through the UV light, the radiation damages their DNA and prevents them from reproducing. This technology is particularly useful in humid climates where mold growth is a concern. UV purifiers don’t physically remove particles from the air, though. They neutralize biological threats, but dust and pollen will still be present. Because of this limitation, UV systems are often used alongside filtration technologies in whole-home air purification setups. Ionizers and Electrostatic Precipitators These devices use electrical charges to remove particles from the air. An ionizer releases negatively charged ions into the air. These ions attach to airborne particles, giving them a negative charge. The charged particles then stick to surfaces like walls, floors, or a collection plate inside the purifier. Electrostatic precipitators work similarly but use charged plates to actively attract particles. While effective, some ionizers produce small amounts of ozone as a byproduct. This can irritate the respiratory system. We typically recommend ozone-free models for residential use, especially for families with asthma or other respiratory concerns. Comparing Whole-Home Air Purifiers and Portable Purification Units When you’re deciding how to improve your indoor air quality, you’ll need to choose between portable units and whole-home systems. Portable purifiers work well for single rooms and give you flexibility to move them around. They’re a good starting point if