How Often to Replace HVAC System: Expert Guide
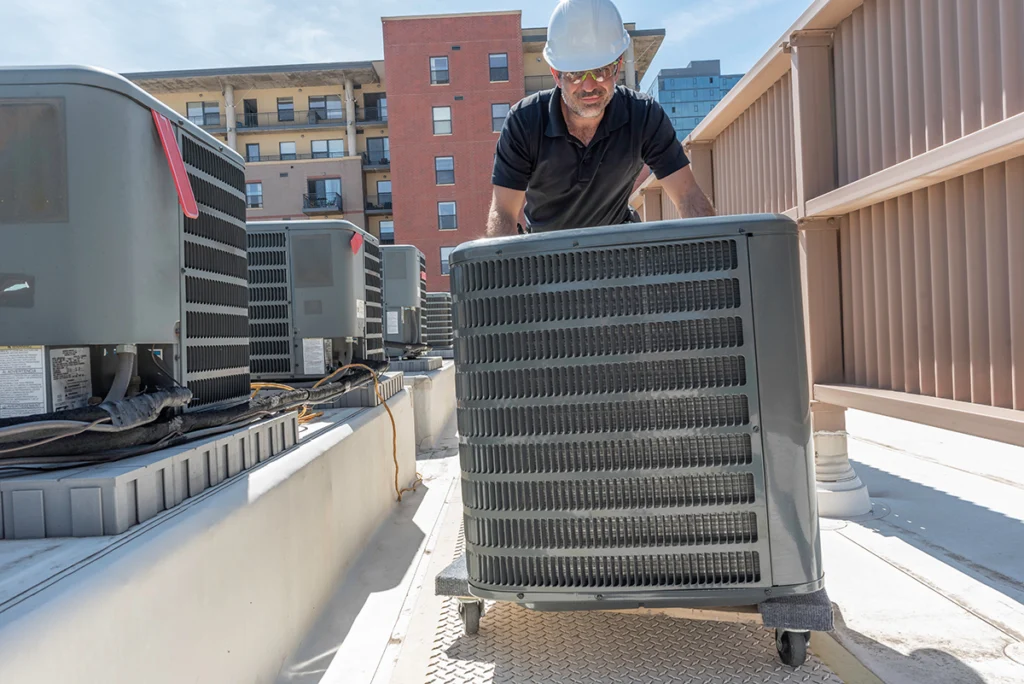
If you’ve been wondering how often to replace your HVAC system, you’re not alone — it’s one of the most common questions we hear from homeowners who want to plan ahead and avoid unexpected breakdowns. Most systems last between 15 and 20 years. That range depends on factors like maintenance history, usage patterns, and the quality of the original installation. Because replacing your heating and cooling system is a significant investment, it’s important to recognize the warning signs that indicate it’s time for an upgrade rather than another repair. Understanding how often to replace HVAC system equipment helps you budget appropriately and avoid emergency situations. We’re here to help you understand what affects your system’s lifespan, when replacement makes the most sense, and how a professional assessment can give you clarity and confidence in your decision. How Often Should You Replace Your HVAC System? Most homeowners in Tyler, TX wonder when that day will finally arrive—when repair bills stop making sense and replacement becomes the smarter investment. ENERGY STAR recommends having HVAC equipment that is more than 10 years old evaluated by a professional contractor, especially if it is no longer keeping your home comfortable. These aren’t arbitrary numbers. They reflect the point where efficiency drops, parts become harder to find, and breakdowns grow more frequent. Knowing how often to replace HVAC system components helps you plan for this inevitable expense. That said, age alone doesn’t tell the whole story. We’ve seen well-maintained systems push past these benchmarks, and poorly maintained units fail much earlier. Factors like installation quality, regular professional maintenance, thermostat habits, and even how much your system runs during our hot Texas summers all influence longevity. If you’re facing frequent repairs, uneven temperatures, rising energy bills, or your system is approaching these age thresholds, it’s time for a professional assessment. Our team can perform a comprehensive system evaluation to determine whether your equipment has good years left or if replacement will save you money and frustration. We’ll inspect efficiency levels, overall system performance, and component condition to give you an honest recommendation. Call us today to schedule an inspection. Signs Your HVAC System May Need Replacement Recognizing the warning signs of a failing HVAC system can save you from unexpected breakdowns and costly emergency repairs. According to Trane, air conditioners and heat pumps typically last 10-12 years, while furnaces last 15-20 years with proper maintenance. If your system is approaching or exceeding these timeframes, it’s wise to watch for symptoms that indicate replacement may be more cost-effective than continued repairs. Many homeowners ask how often to replace HVAC system equipment when they begin noticing these warning signs. Common warning signs include inconsistent temperatures throughout your home, unusual noises like grinding or banging, frequent cycling on and off, and rising energy bills despite normal usage patterns. You might also notice excessive dust, poor humidity control, or a system that struggles to maintain your desired temperature even when running continuously. Strange odors—whether musty, burning, or chemical—can indicate serious internal issues that often signal the end of a system’s useful life. If you’re experiencing any of these symptoms, our team can perform a comprehensive system evaluation. This assessment will help determine whether repair or replacement is the most cost-effective solution for your Tyler home. We’ll examine your system’s overall condition, efficiency ratings, and repair history to help you make an informed decision that protects your comfort and your budget. What Affects How Often You Replace an HVAC System? Several key factors determine whether your system lasts 10 years or pushes past 20. Regular professional maintenance stands at the top of that list—systems we service twice a year consistently outlast those that only see attention when they break down. During maintenance visits, our technicians catch warning signs of component wear, system inefficiencies, and potential issues before they trigger expensive breakdowns or force premature replacement. Maintenance directly impacts how often to replace HVAC system equipment in your home. Installation quality plays an equally critical role. An undersized system will run constantly, wearing out compressors and motors years ahead of schedule. Improper ductwork causes uneven heating and cooling, forcing your equipment to work harder than it should. We also consider your home’s usage patterns. For instance, a system cooling an always-occupied home with the thermostat set to 68°F will age faster than one in a moderately used space. Environmental factors matter too, especially in East Texas. High humidity, airborne dust, and seasonal temperature swings all stress components over time. If you’re noticing your system struggling to keep up, rising energy bills, or uneven temperatures despite routine filter changes, those are warning signs that wear and tear may be accelerating. Our team can inspect your entire system and identify which factors are affecting your equipment’s lifespan. From there, we’ll help you decide whether repair or replacement makes the most sense for your home and budget. The Department of Energy’s air conditioner maintenance guidelines explain how regular upkeep helps cooling systems run more efficiently and effectively. Repair vs. Replacement: When to Make the Switch One of the toughest decisions homeowners face is whether to invest in yet another repair or move forward with a full HVAC system replacement. We use a simple guideline to help our clients. If a repair costs more than 50% of what a new system would cost, and your equipment is already past the halfway point of its expected lifespan, replacement usually makes better financial sense. At that point, you’re not just fixing one problem—you’re dealing with aging components that will likely require additional repairs soon. This scenario often prompts homeowners to reconsider how often to replace HVAC system equipment. We also look at your repair history. If we’ve been out to your home three or more times in the past two years, that’s a strong signal that multiple components are wearing out at once. Our technicians can walk you through your service records, current efficiency losses, and projected repair costs to give you a clear picture of your options.