HVAC Capacitor Problems: Signs Your AC Unit Needs Help
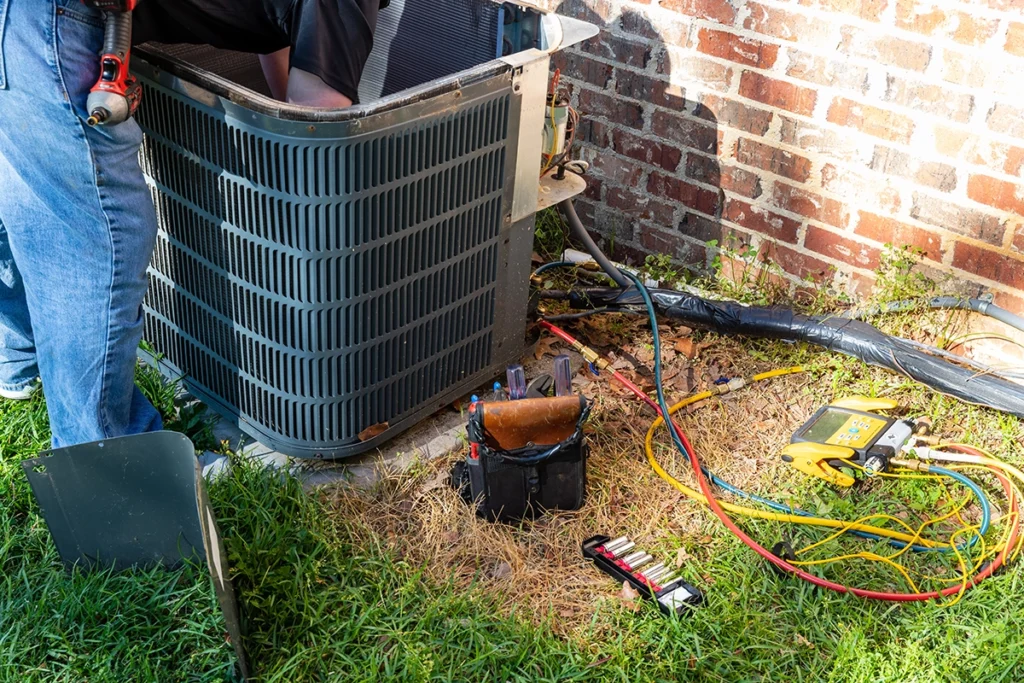
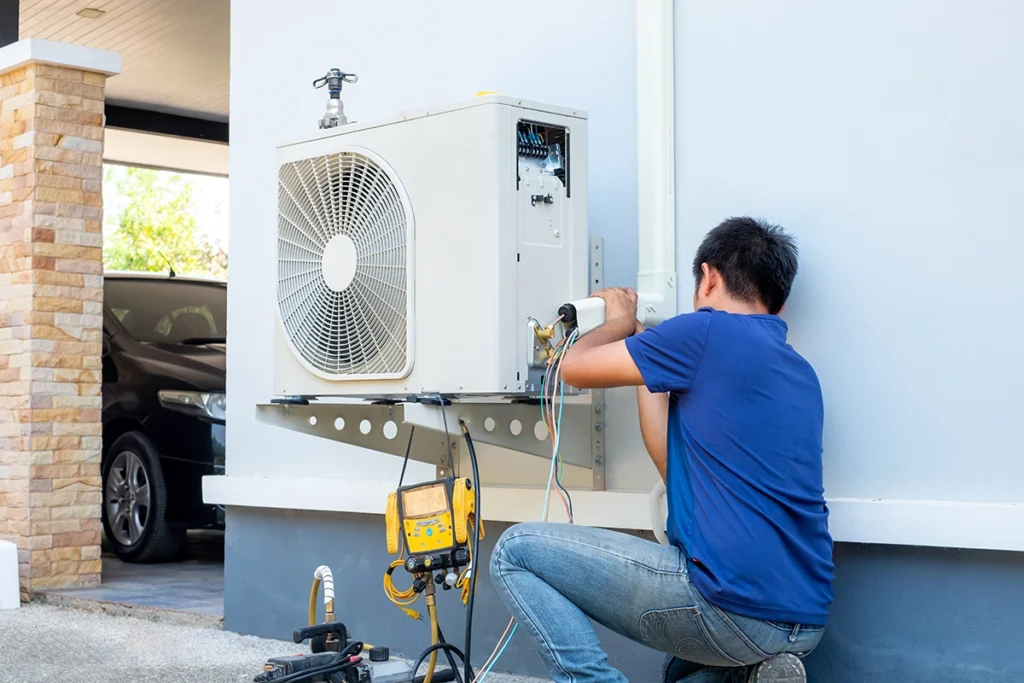
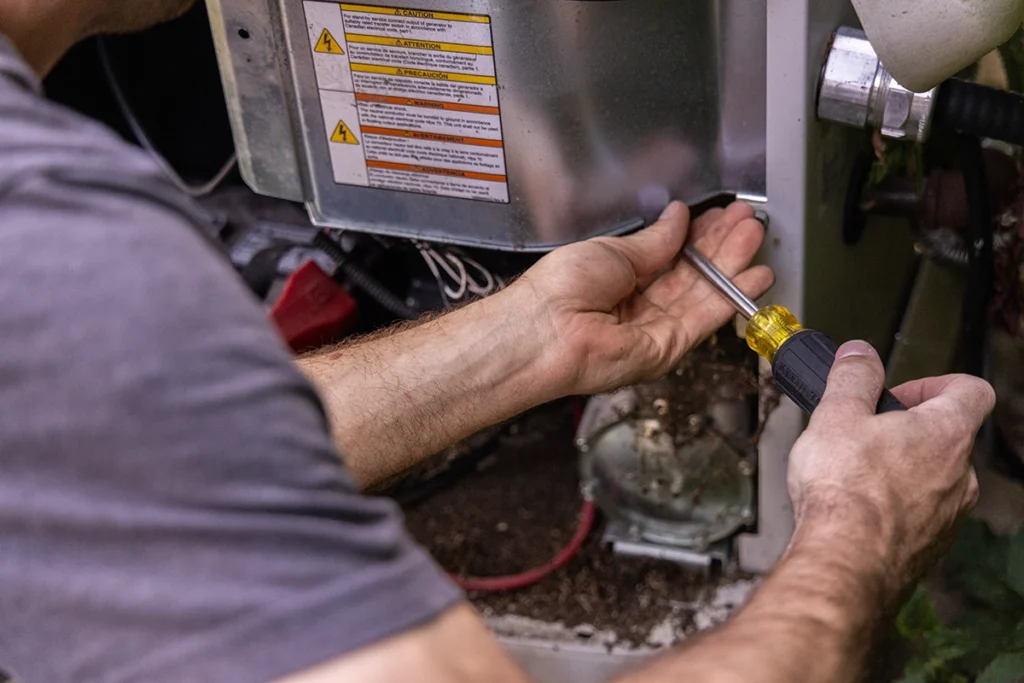
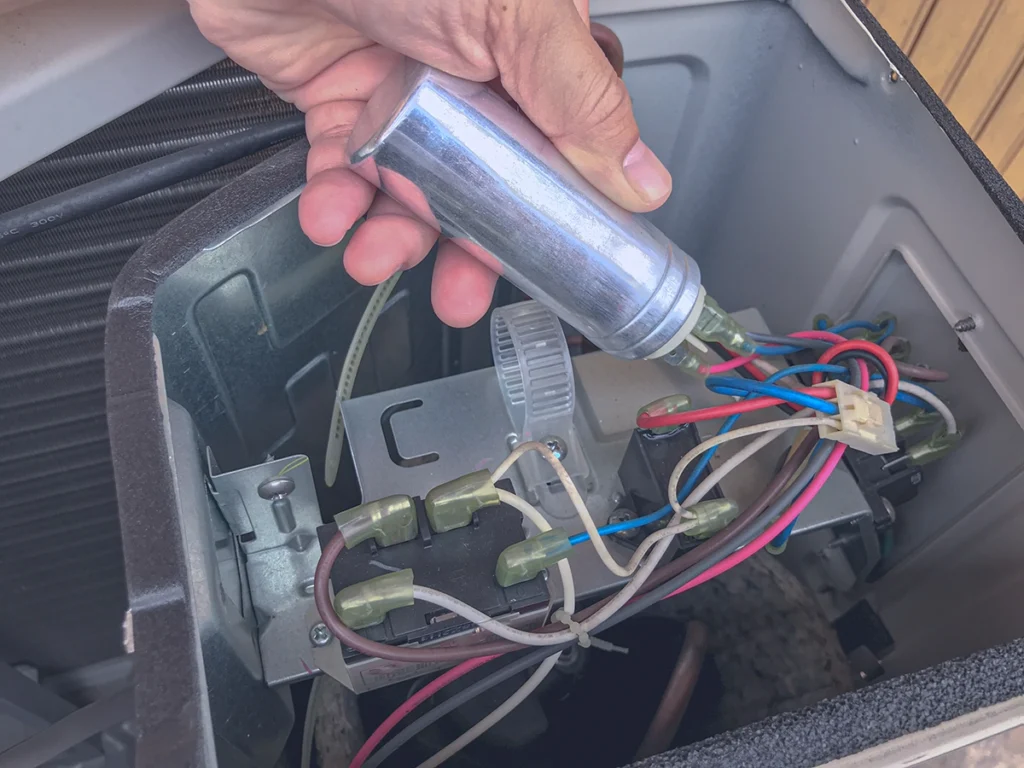
When your air conditioning system suddenly stops working or begins struggling to start, the culprit might be a small but critical component called the HVAC capacitor. This essential part plays a vital role in keeping your cooling system running smoothly, and understanding its function can help you recognize when professional intervention is needed. What Is an HVAC Capacitor and Why Does It Matter? An HVAC capacitor is an electrical component that stores and releases energy to help your air conditioning system’s motors start and run efficiently. Think of it as a battery that provides the initial electrical boost needed to get your AC’s compressor and fan motors spinning. Without a properly functioning capacitor, your system may struggle to start or fail to operate altogether. There are two main types of capacitors in most HVAC systems: start capacitors and run capacitors. Start capacitors provide the initial jolt of power needed to get motors running, while run capacitors help maintain steady operation once the system is up and running. Some systems use a dual capacitor that combines both functions into one unit. Common Signs Your HVAC Capacitor Is Failing Recognizing the warning signs of a failing capacitor can help you address the issue before it leads to more expensive repairs or complete system failure. Here are the key symptoms to watch for: Your AC Unit Won’t Start If your air conditioning system doesn’t turn on when you adjust the thermostat, a faulty capacitor could be preventing the motors from starting. You might hear the system trying to start with clicking sounds or humming, but the outdoor unit never actually begins running. A capacitor is one possible reason an AC will not turn on, but it is not the only issue that can keep a system from starting. Hard Starting or Delayed Operation A struggling capacitor often causes hard starting, where your AC takes multiple attempts to begin operating or experiences significant delays between the thermostat call and actual startup. This puts additional strain on your system’s components and increases energy consumption. Intermittent Operation Capacitor problems can cause your system to start and stop unexpectedly or run for short periods before shutting down. This erratic behavior indicates the capacitor isn’t providing consistent power to keep the motors running smoothly. Unusual Sounds Listen for humming, buzzing, or clicking sounds coming from your outdoor unit. These noises often indicate that the system is trying to start but lacks sufficient electrical support from the capacitor. Reduced Cooling Performance When a run capacitor begins failing, your system might still operate but with reduced efficiency. You may notice that your home takes longer to cool down or doesn’t reach the desired temperature consistently. What Causes HVAC Capacitor Failure? Understanding the common causes of capacitor failure can help you appreciate why regular maintenance is so important for your HVAC system’s longevity. Age and Normal Wear Like all electrical components, capacitors have a limited lifespan. Most HVAC capacitors last between 10-20 years, but factors like usage patterns and environmental conditions can affect their longevity. As capacitors age, their ability to hold and release electrical charge gradually diminishes. Heat and Electrical Stress Capacitors are particularly sensitive to heat and electrical stress. Extended operation in high temperatures, power surges, and frequent cycling can accelerate wear and cause premature failure. The Department of Energy notes that regular air conditioner maintenance helps support efficient performance and can reduce issues that lead to premature system problems. Power Issues Voltage fluctuations, power surges, and electrical storms can damage capacitors instantly or weaken them over time. Installing surge protection can help protect these sensitive components from electrical damage. Manufacturing Defects Occasionally, capacitors may fail prematurely due to manufacturing defects or poor quality components. This is why choosing reputable HVAC contractors who use quality parts is essential for long-term system reliability. The Professional Capacitor Replacement Process When you call C&R Services for capacitor issues, our certified technicians follow a comprehensive diagnostic and replacement process to ensure your system operates safely and efficiently. First, our technician will perform electrical tests to confirm the capacitor is indeed the problem and not a symptom of a larger issue. They’ll check voltage readings, inspect connections, and examine the capacitor for physical signs of failure like bulging, leaking, or corrosion. If replacement is needed, the technician will safely discharge any remaining electrical charge, disconnect the old capacitor, and install a properly rated replacement. They’ll also inspect related components like contactors and wiring to ensure the entire system is in good working order. Why Professional Service Matters for HVAC Capacitor Issues While a failing capacitor might seem like a simple electrical component, HVAC systems involve high voltage electricity and specialized knowledge that make professional service essential for safety and effectiveness. Licensed technicians have the proper tools and training to safely work with electrical components while your system is energized. They can also identify underlying issues that might have contributed to capacitor failure, preventing future problems and ensuring your investment is protected. Additionally, professional service ensures the correct capacitor specifications are used. Using the wrong voltage rating or capacitance value can damage other system components or create safety hazards. Preventing Capacitor Problems Through Regular Maintenance The best way to avoid unexpected capacitor failures is through regular preventive maintenance. During routine service visits, HVAC professionals can test capacitor function, clean electrical connections, and identify potential issues before they cause system failures. Regular maintenance also helps address factors that contribute to premature capacitor failure, such as dirty coils that cause overheating, loose electrical connections that create voltage fluctuations, and worn components that put additional stress on the electrical system. When to Call C&R Services for HVAC Capacitor Service If you’re experiencing any of the warning signs mentioned above, don’t wait for complete system failure. Early intervention can often prevent more extensive damage and costly repairs. Our team of certified technicians has the expertise to quickly diagnose capacitor issues and restore your system’s reliable operation. At C&R Services, we understand that HVAC problems never happen at convenient