Call Us (903) 204-7571 Today

“Taught By Fathers, Trusted By Families”

Installation

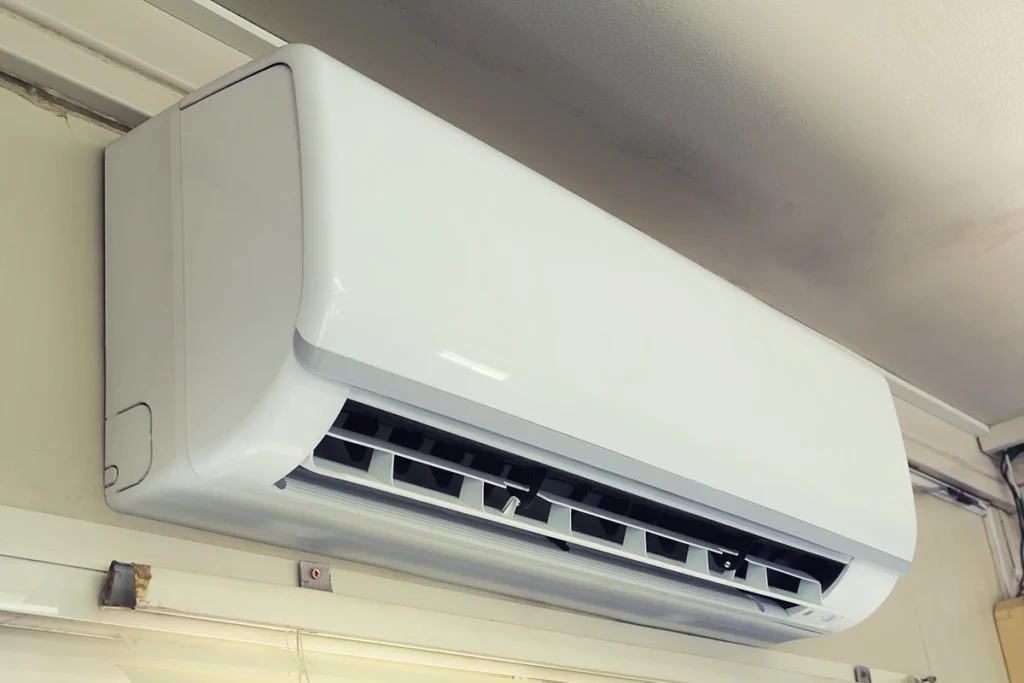
mini split for garage installed above garage door track
Heat Pumps, HVAC Systems, Installation, Mini Splits

Mini Split for Garage: Sizing & Placement Guide

Working in a garage should feel productive, not miserable. We talk with homeowners and small business owners every week who want comfort without running ductwork through the building. In many cases, installing a mini split in a garage can solve the problem cleanly and efficiently. However, sizing and placement matter far more than most people expect. At C&R Services, we install a lot of garage mini split systems. Some people want a workshop. Others want a gym, studio, or hobby space. In other cases, it’s a small auto bay, storage building, or light commercial workspace that needs reliable heating and cooling. Either way, the equipment must match the space or it won’t perform correctly. Why a Garage Is Harder to Condition Than Finished Living Space Garages behave differently from finished living spaces. First, insulation is usually minimal. Second, large doors constantly exchange outdoor air. As a result, temperatures inside a garage can swing quickly. In summer, attic heat radiates through the ceiling. Meanwhile, concrete floors retain cold in winter. Traditional HVAC systems struggle here, especially when ducts are long or unsealed. A ductless system works differently because it conditions the space directly. According to the U.S. Department of Energy, duct losses can account for more than 30% of energy consumption for space conditioning, particularly when ducts run through attics or other unconditioned areas. Because mini splits avoid those duct losses, they often perform better in garages where traditional ductwork would pass through unconditioned spaces. The main benefit isn’t just efficiency ratings — it’s delivering heating and cooling directly to the space instead of losing conditioned air along the way. Instead of fighting duct leakage, the system conditions the space directly. Choosing the Right Size Mini Split for a Garage Getting the capacity right matters more than the brand name. Incorrect sizing is one of the most common problems we run into. Many people buy a unit online based only on square footage. Unfortunately, garages are not standard rooms. Several factors affect garage mini split sizing, including: Ceiling height Insulation level Sun exposure Garage door type (steel vs insulated) Number of exterior walls A 400-sq-ft insulated garage may need around 9,000 BTU, while the same uninsulated garage may require closer to 18,000 BTU. Oversizing is just as problematic as undersizing. Short cycling causes humidity, uneven temperatures, and compressor wear. Before choosing equipment, it helps to understand how capacity calculations work. Matching output to the room size, insulation, and ceiling height is what keeps temperatures consistent instead of the system constantly trying to catch up. Where to Mount a Mini Split for a Garage Placement has a major impact on comfort. The indoor head should never blow directly toward the garage door. Each time the door opens, the system dumps conditioned air outside. In most garage layouts, better airflow comes from mounting the indoor unit in one of these areas: On a side wall Above workbench areas Facing the center of the space The goal is circulation, not just cold air. Avoid the Most Common Mounting Mistake The number one error is installing the unit too low. Cold air sinks and warm air rises. Mounting 7–8 feet high allows the air to mix properly. Low mounting leads to hot ceilings and cold floors. The outdoor condenser also matters. Keep it shaded and away from dryer vents or dust-heavy areas like woodworking zones. Insulation Still Matters (Even With a Mini Split) A ductless system is efficient, but it is not magic. According to ENERGY STAR, sealing air leaks and adding insulation can provide up to a 10% savings on annual energy bills. Because of that, weatherstripping the garage door and sealing wall gaps usually improves mini-split performance immediately. So before installation, we often recommend: Weatherstripping the garage door Insulating attic above garage Sealing top plates and wall gaps When this is done first, the system runs quieter and maintains a more consistent temperature. Heating and Cooling With a Garage Mini Split Many people think these systems are only air conditioners. They aren’t. Modern inverter systems operate as heat pumps. A ductless system cools the space in summer and heats it in winter by reversing refrigerant flow automatically. Because of that, a properly installed mini split in your garage can provide year-round comfort without adding a furnace or baseboard heater. In fact, most people are surprised how steady the temperature feels once installed. The system doesn’t blast hot or cold air. Instead, it maintains a consistent indoor temperature and adjusts output gradually. This is especially helpful in garages that sit unused during parts of the day, since the system can ramp back up quickly when you return to the space. Maintenance Requirements The biggest advantage of ductless systems is reliability. Still, they need basic care. Basic upkeep for a garage mini split system usually includes: Clean filters monthly Keep the outdoor coil clear Flush the condensate drain annually We actually see many service calls caused by clogged filters. The unit isn’t broken — airflow is just restricted. For a mini split in a garage, filters matter even more because workshops, storage areas, and hobby spaces usually create more dust than living areas. A basic understanding of mini-split maintenance helps you know when a quick cleaning is enough and when service is needed. Regular upkeep keeps airflow strong, maintains efficiency, and helps the system hold temperature during extreme weather. Are There Downsides? Every HVAC system has tradeoffs, and ductless equipment is no exception. Wall-mounted units remain visible in the room, which some property owners care about. Upfront installation cost is higher than temporary solutions, but a ductless system is a permanent heating and cooling setup rather than a portable appliance. However, those comparisons are not equal systems. A ductless unit is designed for permanent heating and cooling. Before choosing equipment, many people want to understand the common concerns about mini splits before deciding if a ductless system fits their situation. Most concerns relate to placement, electrical requirements, and appearance rather than performance. Once installed

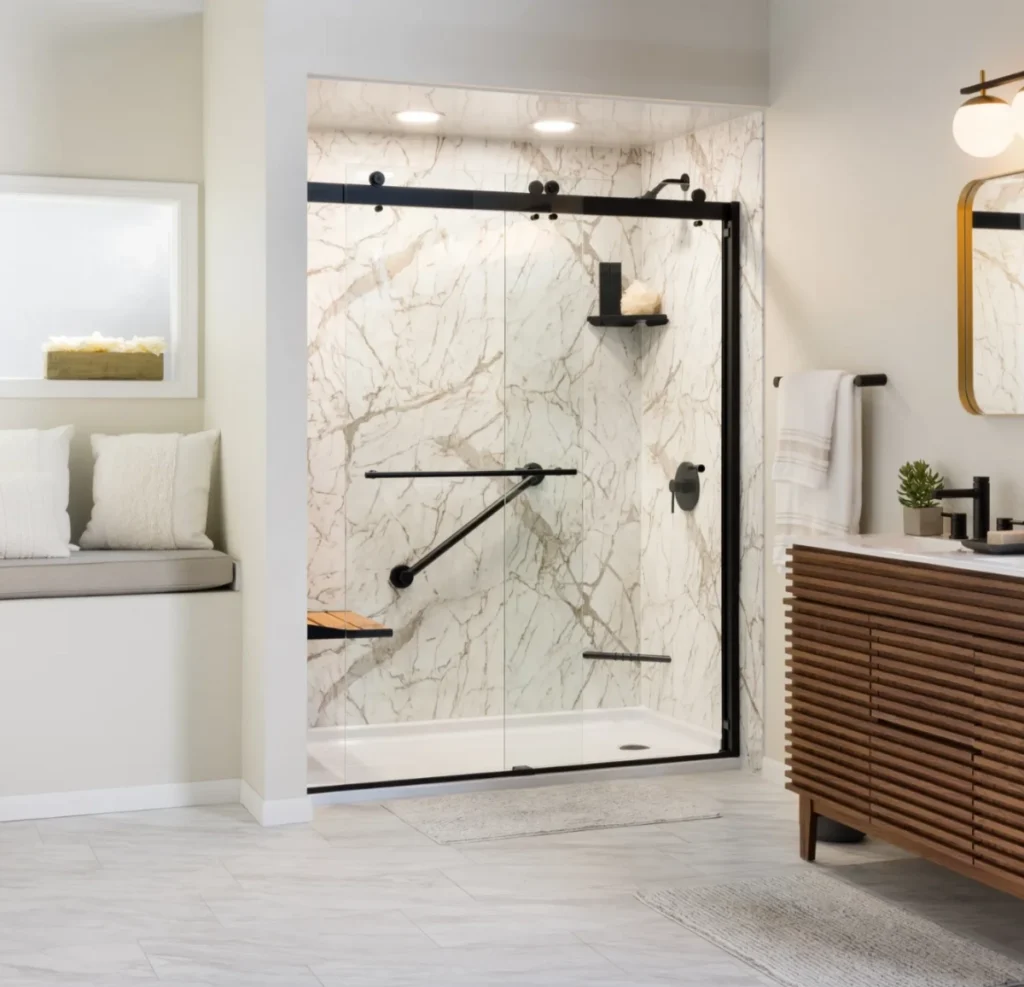
One day bathroom remodel with modern walk-in shower, no-grout wall surround, and glass enclosure
Bathroom Remodeling, Installation

One Day Bathroom Remodel: What Can Be Done in 24 Hours?

If you’ve been searching for a one day bathroom remodel, you’re probably wondering the same thing most homeowners ask us: What can you actually get done in a single day without cutting corners? At C&R Services, we work in bathrooms constantly, and I’ll be honest—when it’s planned correctly, a one day bathroom remodel can feel almost unreal (in a good way). That said, the secret isn’t speed. It’s preparation, materials, and a process that doesn’t get improvised on-site. What a One Day Bathroom Remodel Really Means A “one day” remodel usually doesn’t mean demolishing your entire bathroom to the studs and rebuilding everything in 24 hours. Instead, a one day bathroom remodel focuses on high-impact replacements that can be completed fast because most of the work happens before installation day, such as: Pre-measuring and pre-building the new system Ordering materials in advance Using surfaces that install quickly and don’t require curing time In other words, the install day is the final step, not the first step. One Day Bathroom Remodel Upgrades That Actually Fit the Timeline When homeowners hear “one day,” they often imagine “everything.” However, the best one day projects are usually targeted. Here’s what commonly fits in the 24-hour window. Tub-to-Shower Conversions This is one of the most common requests we see. It’s a dramatic change without needing a full layout redesign. A tub-to-shower conversion can include: A low-threshold shower base New no-grout shower wall surround Updated fixtures New drain connection work (as needed) And yes—this is where accessibility upgrades can quietly shine without sacrificing style. Bathtub Replacement Replacing an old, stained, cracked, or shallow tub is another upgrade that often fits into one day. If the plumbing stays in the same place, it keeps the project clean and predictable. That matters more than people think. Wall Surround Replacement: The “Wow” Upgrade If your bathroom looks dated, it’s often because of the shower or tub walls. Tile grout gets stained. Caulk gets gross. Mold shows up. Life happens. That’s why we often recommend no-grout materials as the core of the remodel. If you want a deeper breakdown, we have a helpful post on solid surface shower walls that explains why these wall surrounds are so popular for fast remodels. The Materials That Make a One Day Bathroom Remodel Possible This part matters. A lot. The difference between a smooth 24-hour install and a “why is this taking a week?” nightmare is usually materials and build system. In a one day bathroom remodel, installers typically rely on: No-grout wall surrounds (fast install, low maintenance) Pre-leveled shower bases Ready-to-mount accessories (shelves, seats, grab bars) Tile is beautiful, sure. But tile also requires multiple steps. Plus, grout takes time to dry, and it rarely matches your schedule (trust me). What Can’t Usually Be Done in One Day—and Why Not everything belongs in the one day category. In our experience, these items typically push a remodel longer: Moving plumbing locations (drain/vent/water lines) Major electrical relocation Structural wall changes Full bathroom layout redesigns Custom tile floors with complex cuts Subfloor repair (unless small and localized) Now, sometimes we find hidden damage after demolition. That’s rare, but it happens. And when it does, we’re not going to cover it up just to hit a 24-hour promise. (That’s how “quick remodels” become expensive regrets.) One Day Bathroom Remodel Prep: What Homeowners Can Do Most homeowners want to know what they should do ahead of install day. Here are a few things we recommend: Clear everything out of the bathroom Make space near the entry for materials Keep pets secured (tools + open doors = chaos) Plan for limited bathroom access that day Also, if you have only one bathroom, make a backup plan. Even the smoothest job still involves downtime. What to Expect on Installation Day (Step-by-Step) This is the part people love because it makes the day feel predictable. Here’s what the timeline usually looks like. Morning – Demolition and Removal Old tub, old surround, old fixtures—gone. We protect flooring and pathways as much as possible. Then we inspect what’s behind the wall. If everything looks clean, the job stays on track. Midday – Plumbing and System Install We set: Shower base or new tub Drain connection New valve and trim (as scoped) This is where we double-check level, slope, and fit. Afternoon – Walls, Sealing, and Finishing This is where the bathroom becomes the bathroom again. We install the no-grout wall system, seal edges, mount accessories, and finish with a thorough cleanup. And yes—we take cleanup seriously. A fast remodel should still end with a clean home. Is a One Day Bathroom Remodel Built to Last? Yes—if it’s done correctly. Speed doesn’t automatically mean low quality. The long-term results depend on: Proper waterproofing Correct wall system installation Clean sealing Stable base/subfloor condition If you want a trusted water-efficiency angle too, WaterSense labeled bathroom sink faucets use a maximum of 1.5 gallons per minute, which can reduce water flow by 30% or more compared to the standard 2.2 gpm—without sacrificing performance. Also, if you’re planning your upgrade around lifestyle and comfort, the U.S. Department of Energy notes that water heating is the second largest energy expense in your home, accounting for about 18% of your utility bill, which is why fixture upgrades can make a real difference. Final Thoughts + A Simple Next Step A one day remodel isn’t about rushing. It’s about using the right system, the right materials, and a team that specializes in these upgrades. At C&R Services, we’ve found that homeowners are happiest when the process is clear, clean, and predictable—without stretching into weeks of disruption. The best next step is a consult where measurements and material options can be confirmed. Our Bath Concepts bathroom remodeling process makes things smoother from the beginning by letting you design your new bathroom in 3D, choose premium no-grout materials, and move forward with a plan that’s built for speed and durability. If you’re in Tyler or anywhere in East Texas, contact us

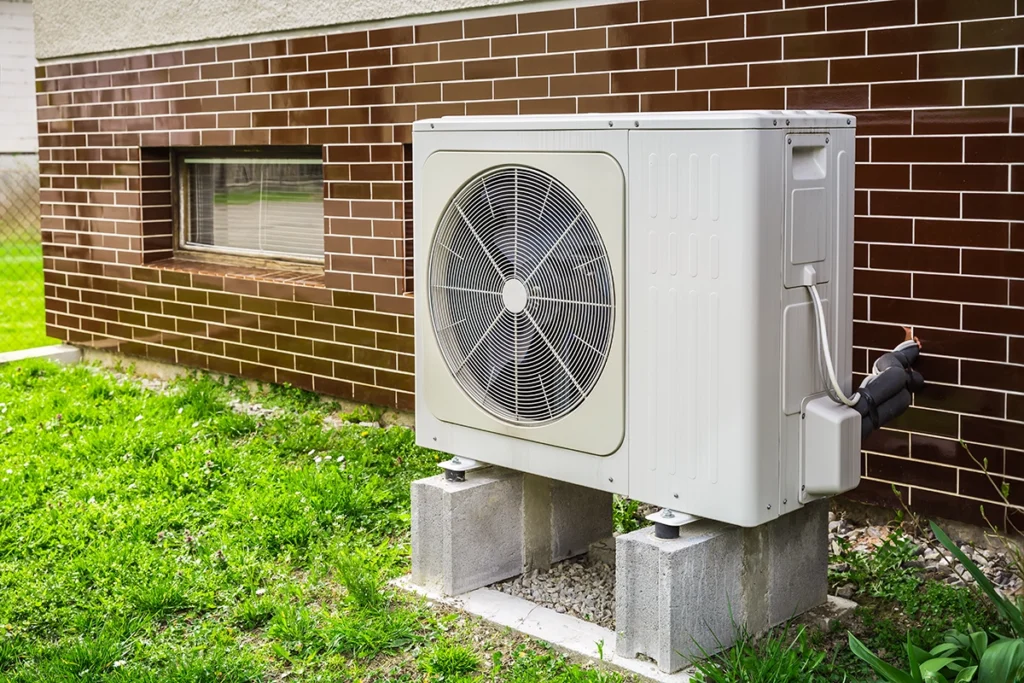
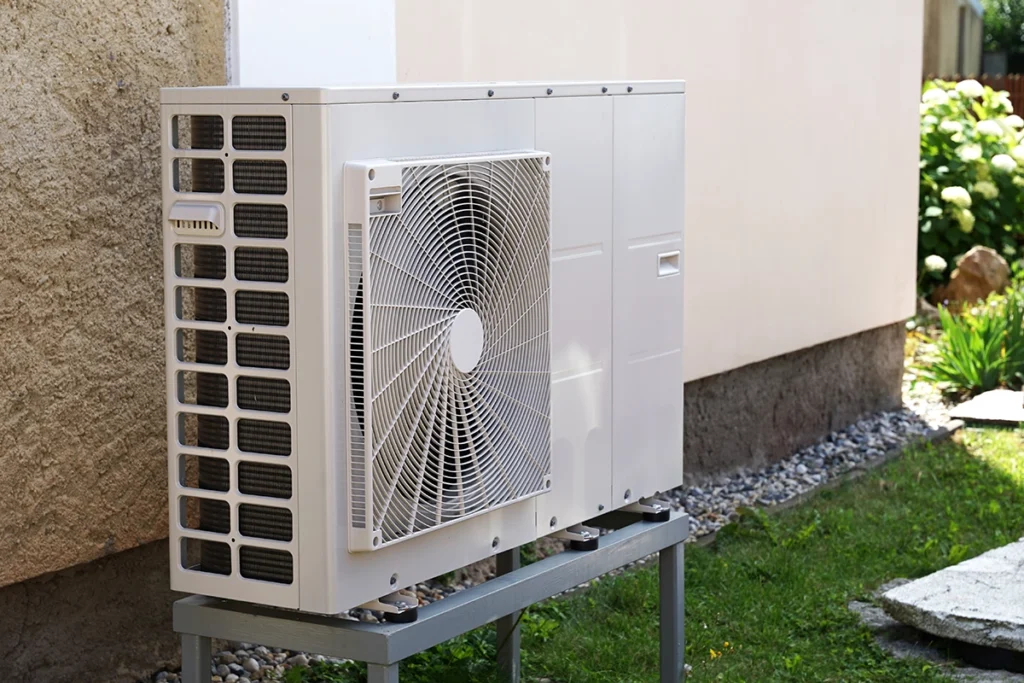
Outdoor mini split heat pump system installed beside a home — helps illustrate what size mini split you need.
Air Conditioning, Heat Pumps, Heating, HVAC Systems, Installation

What Size Mini Split Do I Need for My Home?

If you’ve been wondering, “what size mini split do I need?”, you’re not alone. At C&R Services, we get this question all the time from homeowners looking to upgrade their comfort and cut energy costs. The truth is, choosing the right size mini split is about more than square footage—it’s about finding the perfect balance between efficiency, power, and comfort. And because mini splits use heat pump technology, they don’t just cool your home, they also provide efficient heating when the weather turns cold. As technicians, we’ve seen both ends of the spectrum: systems that barely cool the space and others so oversized they short-cycle all day. Neither is good for your comfort or your wallet. Why Sizing a Mini Split System Matters Before we get into sizing, it’s worth understanding what a mini split system actually is. In simple terms, it’s a type of heat pump that connects an outdoor unit to one or more indoor air handlers. Depending on the layout, mini splits can be ducted, ductless, or a mix of both, making them a flexible option for homes without traditional HVAC setups. When homeowners ask what size mini split they need, they’re really asking how much heating and cooling capacity fits their home’s needs. Mini splits are measured in BTUs (British Thermal Units)—the higher the number, the more power it delivers. But bigger isn’t always better. An oversized unit will cool or heat a room too quickly, shutting off before it can dehumidify properly. That leads to sticky air and uneven temperatures. On the flip side, an undersized unit struggles constantly, wasting energy while trying to keep up. (We’ve seen units in garages running nonstop in Texas summers—trust us, they don’t last long.) How to Calculate What Size Mini Split You Need So, what size mini split do you need for your space? The general rule of thumb is 20 BTUs per square foot of conditioned area. But this is just a starting point. Other factors like insulation, ceiling height, windows, and local climate can all affect your system’s true needs. Here’s a quick breakdown to help you estimate: Room Size (sq ft) Estimated BTU Capacity 150–300 6,000 BTU 300–500 9,000 BTU 500–1,000 12,000–18,000 BTU 1,000–1,500 18,000–24,000 BTU 1,500–2,000+ 24,000–36,000 BTU+ Still, this chart isn’t a replacement for a professional load calculation. If you’re serious about accuracy (and comfort), have a licensed HVAC technician run a Manual J calculation—the industry standard for properly sizing heating and cooling systems. You can learn more about what’s involved in a homeowner-friendly guide from Energy Vanguard. Factors That Affect Mini Split Sizing 1. Insulation and Air Leakage Poor insulation makes even a powerful unit work overtime. If your home leaks air through windows, doors, or duct gaps, your system’s performance will drop fast. 2. Ceiling Height Taller ceilings mean more air to condition. If you’ve got vaulted or open-concept spaces, go a bit higher in BTUs. 3. Sun Exposure Rooms that get a lot of sunlight—especially those facing west or south—tend to need extra cooling power depending on insulation and climate. 4. Local Climate In warmer states like Texas or Florida, cooling demands are much higher than in northern regions. For colder climates, heating performance and heat pump efficiency matter most. If you’re curious how mini splits compare to traditional systems, check out our post on what forced air heating is — it breaks down how conventional HVAC systems move air. (And if you live in a place like East Texas, where summers hit triple digits and winters can still surprise you, it’s best to size for both seasons.) Professional Help: How C&R Services Gets It Right At C&R Services, we don’t just guess when customers ask what size mini split they need. We measure, calculate, and verify—because every home is different. We look at room orientation, window types, insulation, and even your home’s construction materials. That’s what separates a precise installation from a rough estimate. We also guide homeowners through single-zone vs. multi-zone systems, helping you decide whether one indoor air handler will do or if your setup needs multiple units for even coverage. (For example, that upstairs bonus room that’s always hotter than the rest? We’ve all seen that one.) If you’re unsure, check out the Department of Energy’s guide to ductless heat pumps—it’s a great resource for understanding energy savings and system types. Lifestyle Considerations While sizing a mini split sounds technical, lifestyle plays a big role too. Do you cook often and heat up the kitchen? Do you prefer sleeping cold? Have pets that add body heat to a room? These details may sound small, but they help determine what size mini split you need to stay comfortable all year. Because most mini splits are heat pumps, they deliver comfort in every season — heating in winter and cooling in summer — all with impressive energy efficiency. And if you’re switching modes for the first time, our quick guide on how to switch your AC to heat walks you through it step by step. As techs, we’ve learned that comfort is personal. Some folks want steady cool air 24/7, while others just want to knock down the humidity. We tailor every recommendation to fit your habits, not just your square footage. Choosing the Right Mini Split Energy Efficiency and Rebates Always look for ENERGY STAR® certified systems. They’re more efficient, last longer, and can help you qualify for utility rebates or federal tax credits, depending on your location and program eligibility. To see what’s available in your area, check the ENERGY STAR Rebate Finder. Noise Levels and Design Modern mini splits are quiet—some are whisper-level—but placement still matters. Don’t mount the indoor air handler right above your bed or sofa if you’re sensitive to sound. Maintenance and Longevity Even the best-sized system won’t perform well without maintenance. Schedule yearly service to clean coils, check refrigerant, and inspect electrical components. A small tune-up goes a long way. Final Thoughts: What Size Mini Split Do I Need? If you’re

Scroll to Top